
 A tale of 3D Printing
I recently got back to hangboarding after eating several tons of potato salad during the Christmas holidays (spoiler alert: it’s been rough). Since I use liquid chalk for friction, I wanted to design and 3D print a holder for the chalk and also for the brush. Easy, right?
And so the adventure begins.
The Holder
I own a Prusa i3 MK3S+ (great product, great company) and know my way around Fusion 360 (great product, fuck the company), so designing something to hold my liquid chalk and a brush was pretty simple. This is what I came up with:
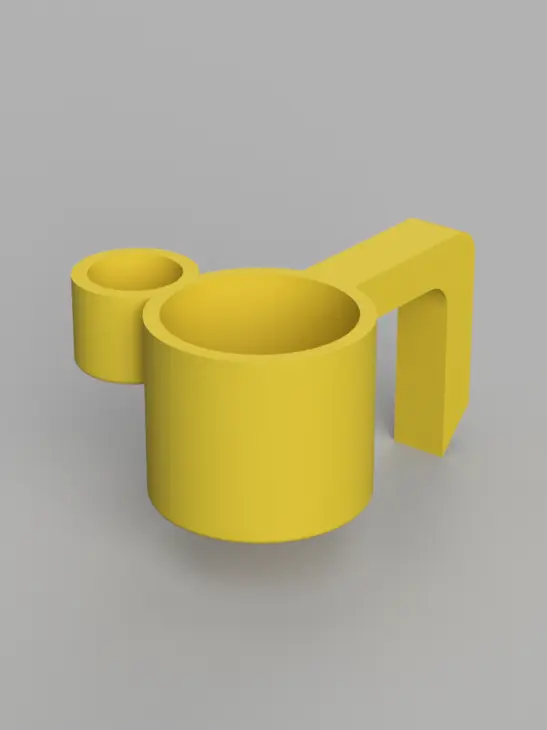
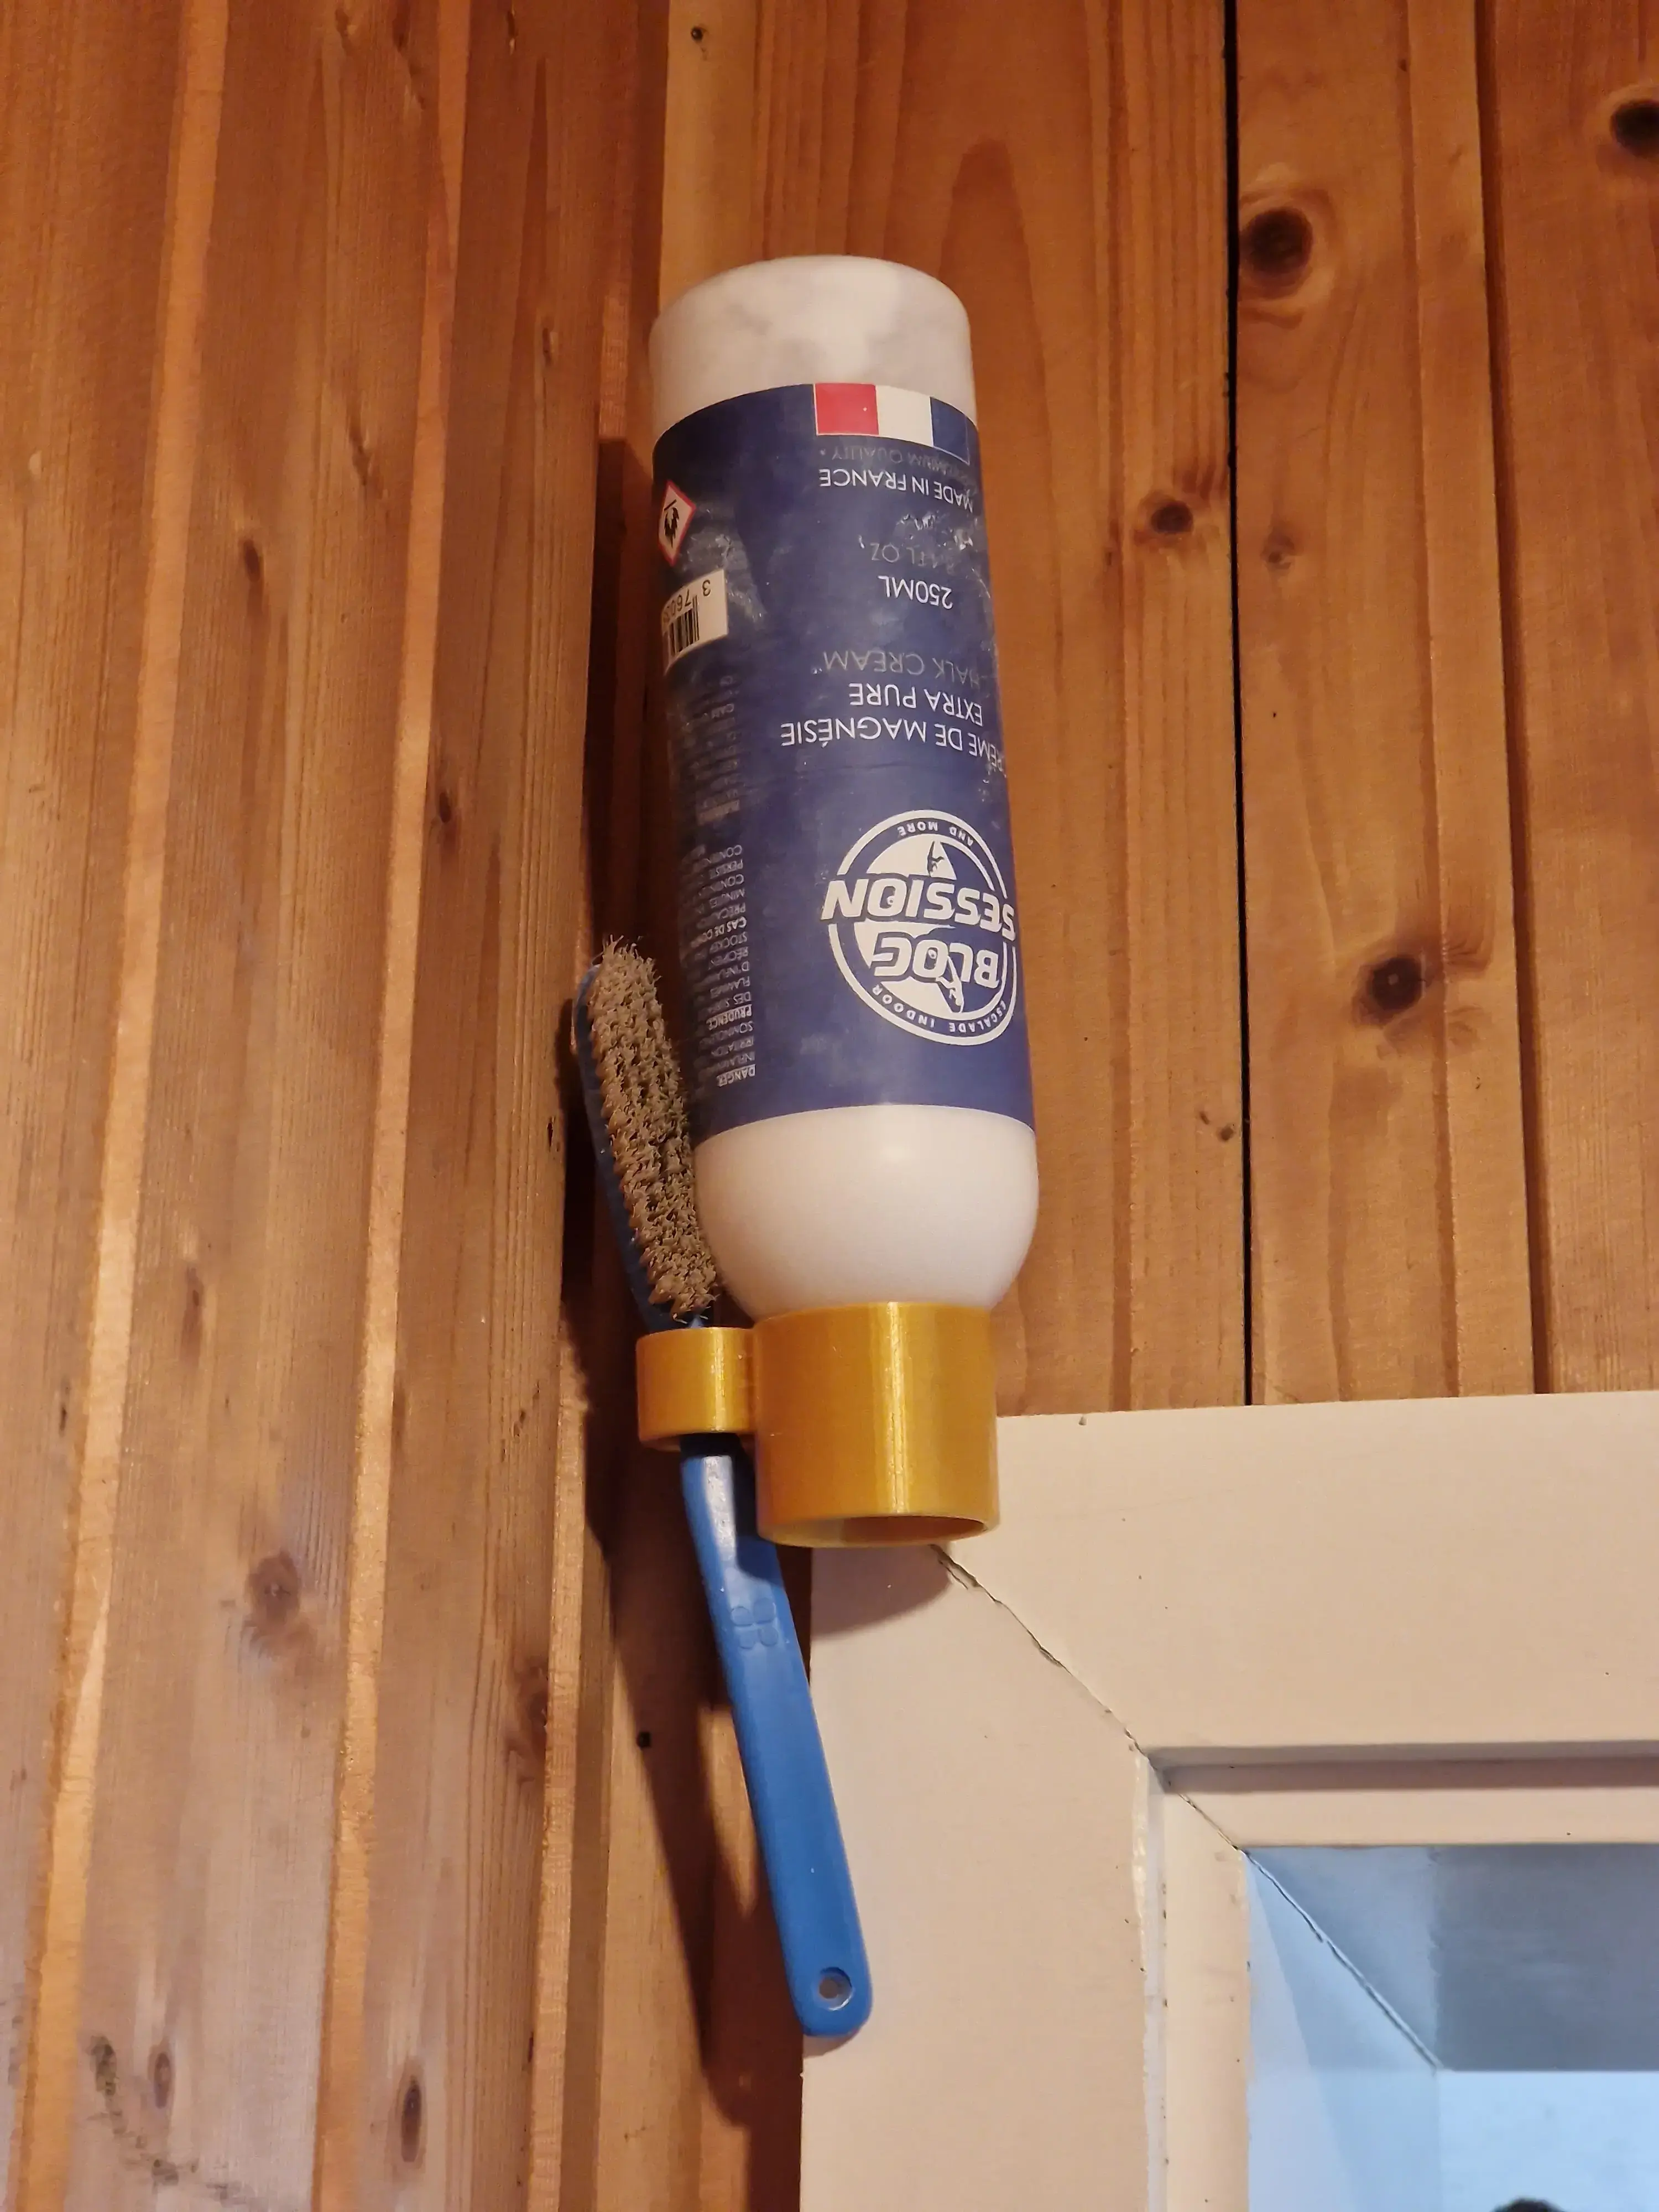
It is meant to be hooked around something (in my case the door frame) and carry a reasonably-sized brush and bottled liquid chalk.
Although I made the hook too thin on the first go, resulting in it snapping and me updating it to make it thicker, this was a pretty fun experience. Since it only took about 30 minutes, I was motivated to continue with designing and printing more things.
The Salt and Pepper
Since we were missing a stand for salt and pepper in our kitchen, this was the next logical target. While not necessary, it would be a nice addition to our otherwise barren table. Here it is:
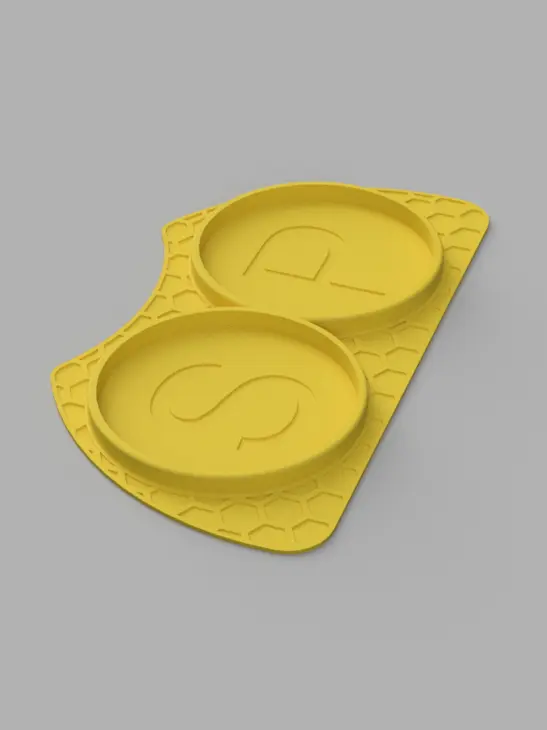
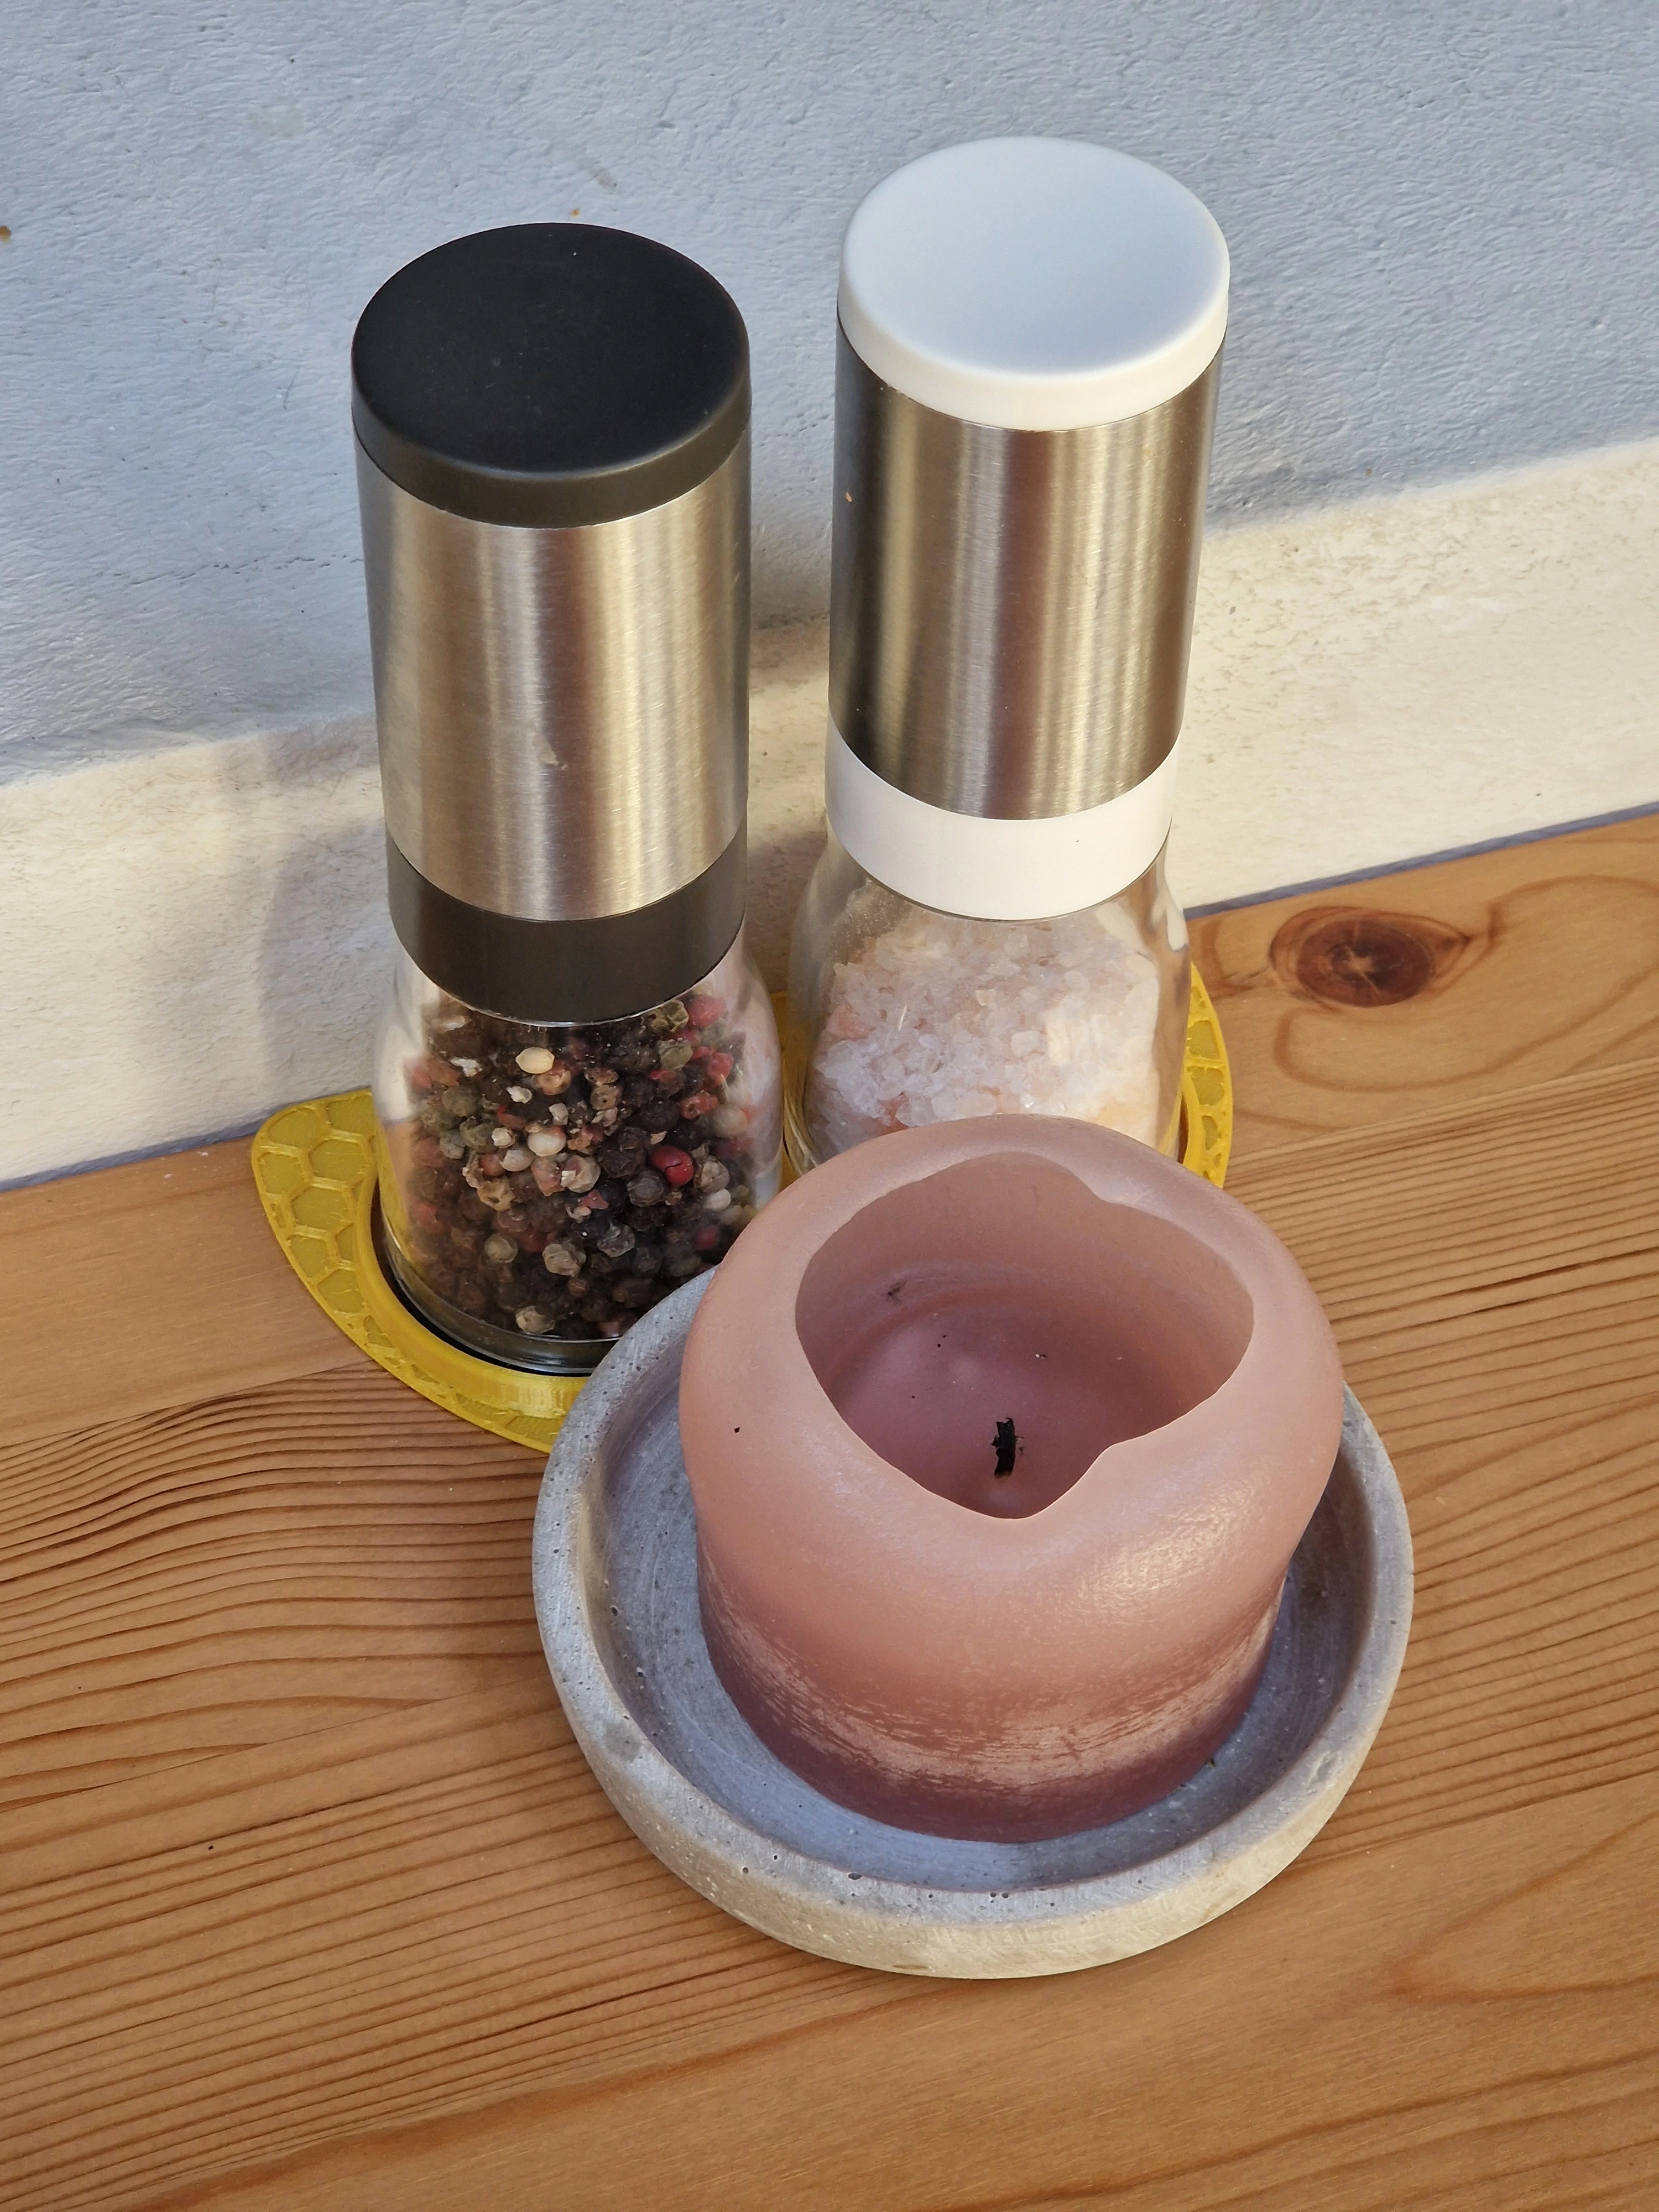
There again isn’t much to comment on here – the design is pretty simple and works fine. Designing the hex pattern was the only non-trivial part (but was still pretty easy) and could prove useful in the future.
The only bad thing is that the letters are facing away from the center of the table (i.e. from our point of view), which is only a minor issue and didn’t warrant a reprint.
The Box
Having basically no time today, my girlfriend suggested I print a small box to keep her jewelry in when she needs to remove it in her lab:
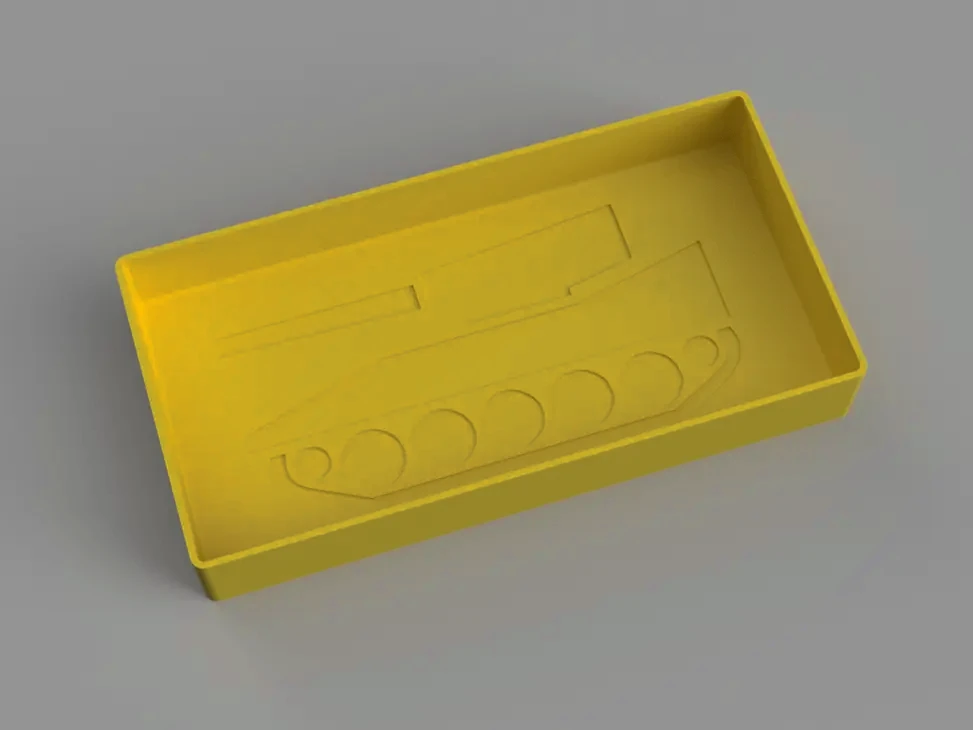
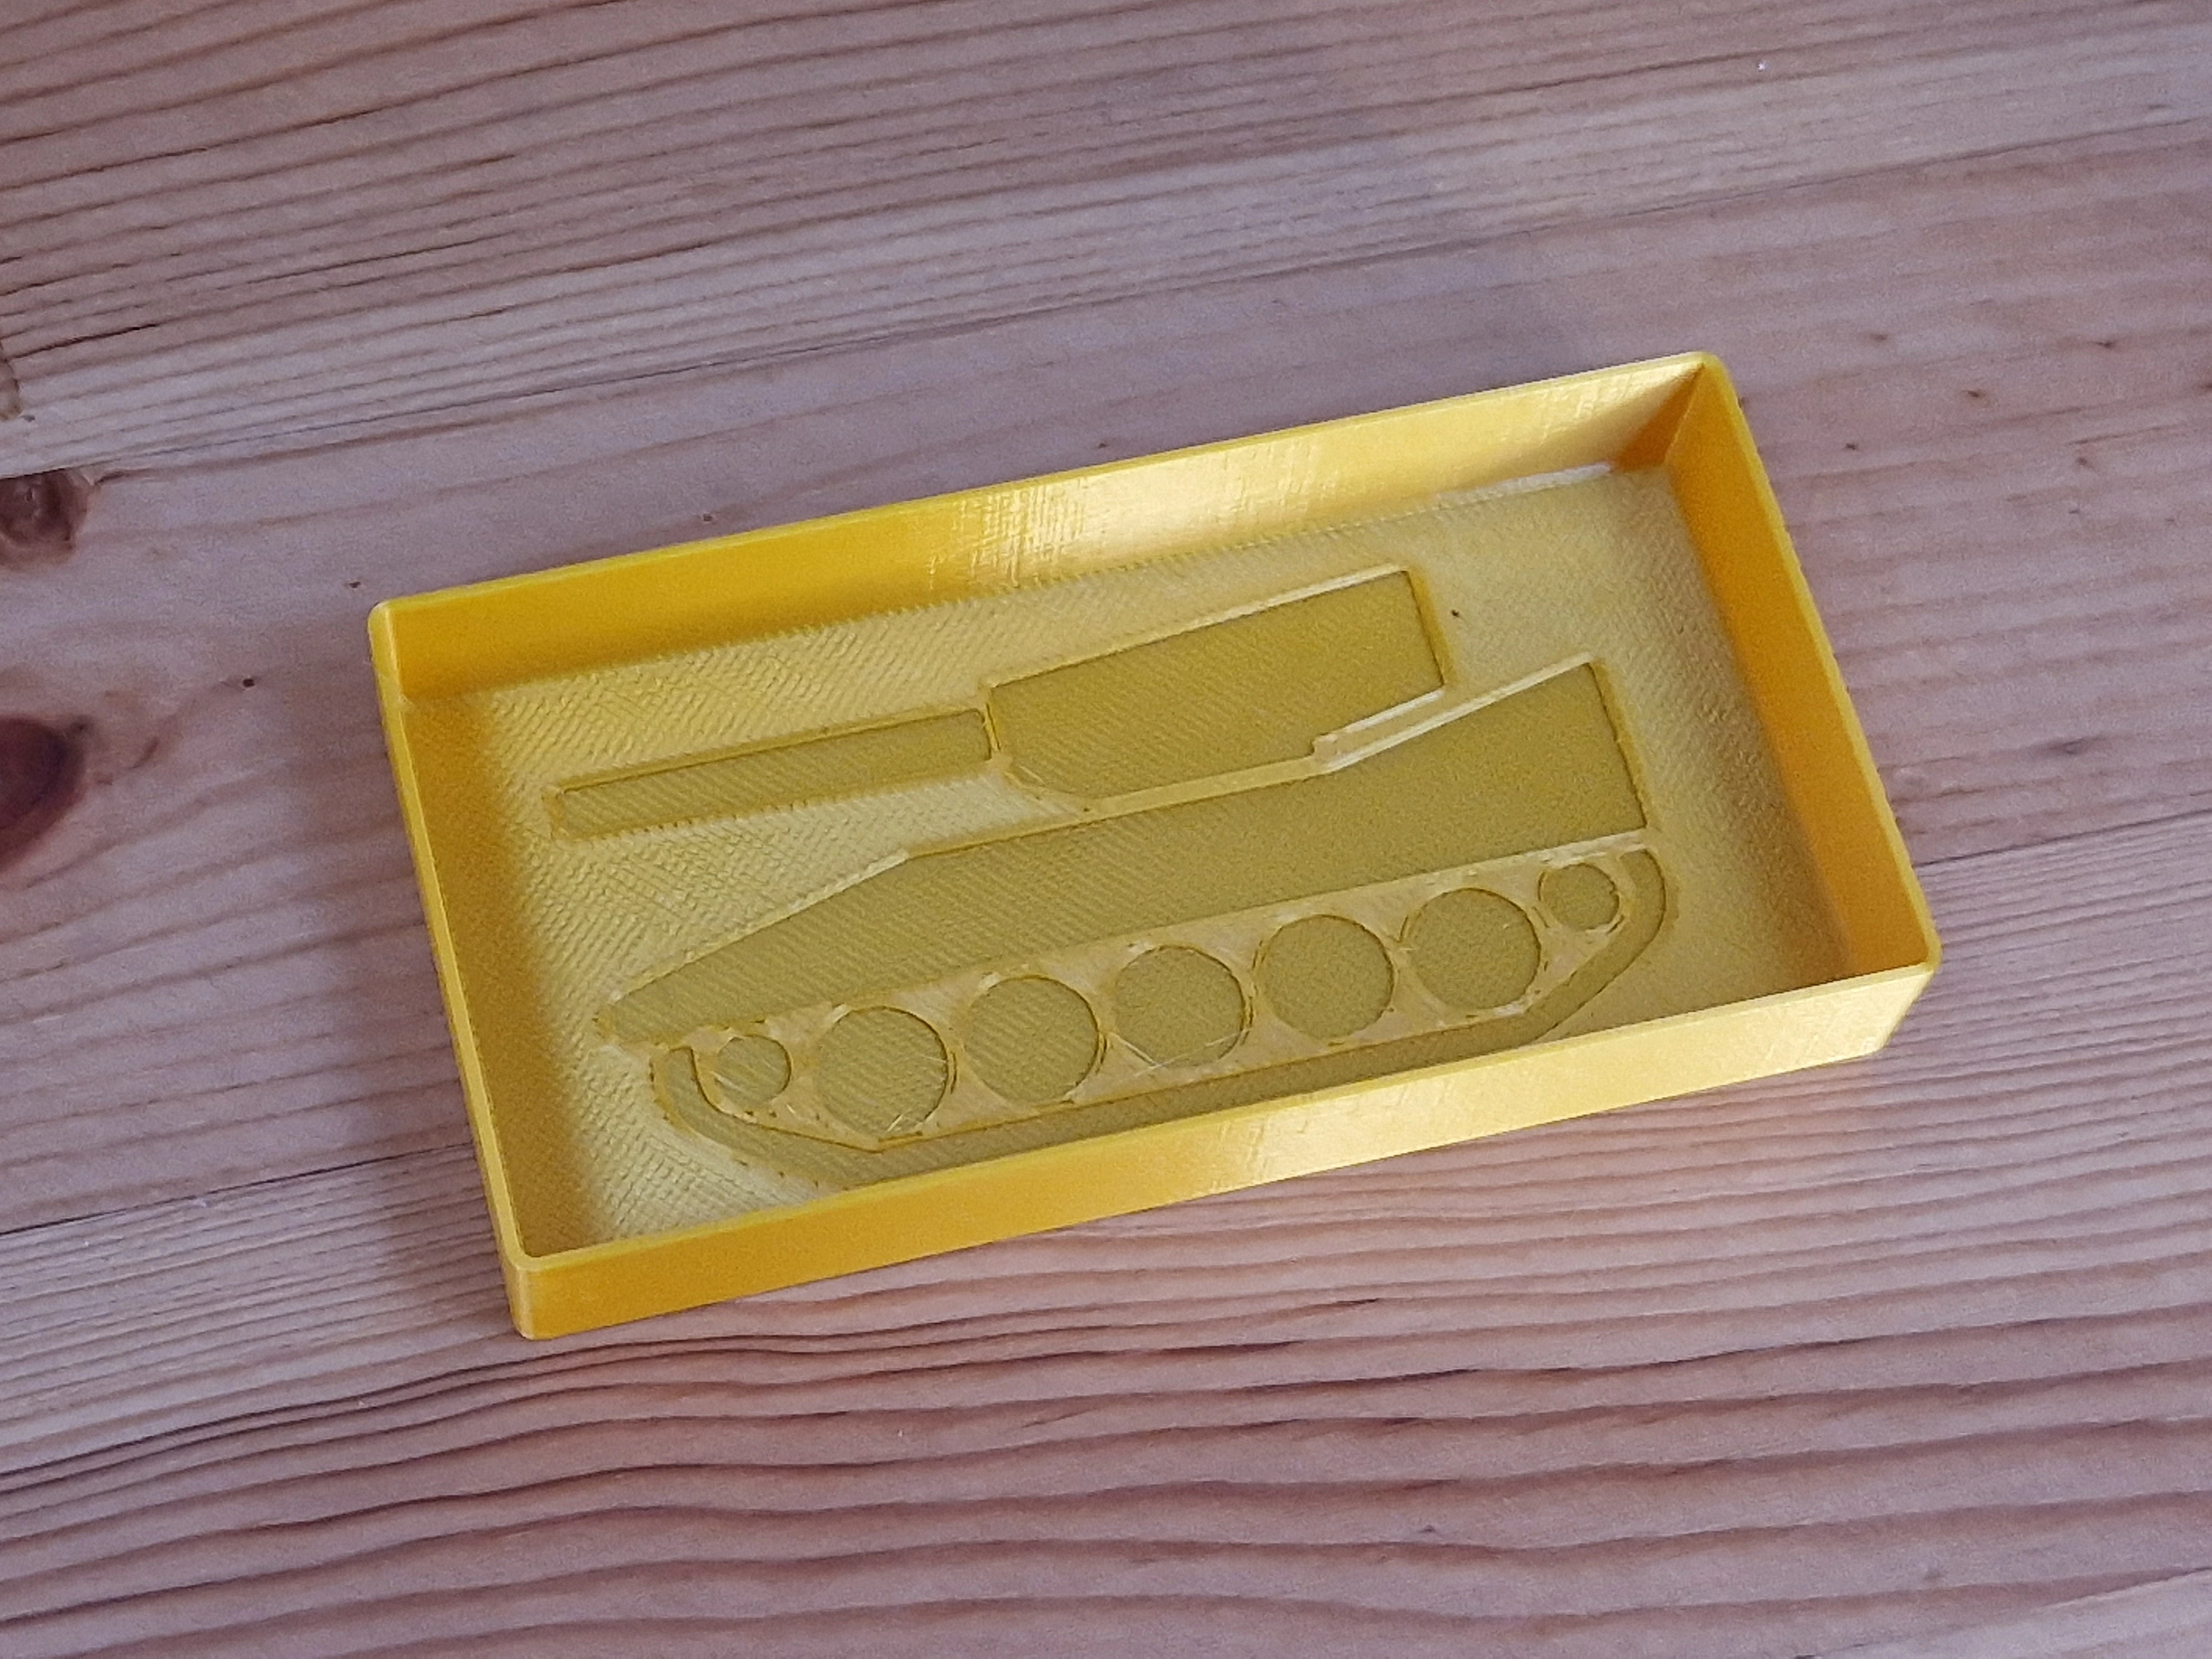
Tank god it was simple.
    .--._____,
 .-='=='==-, "
(O_o_o_o_o_O)
The Disaster
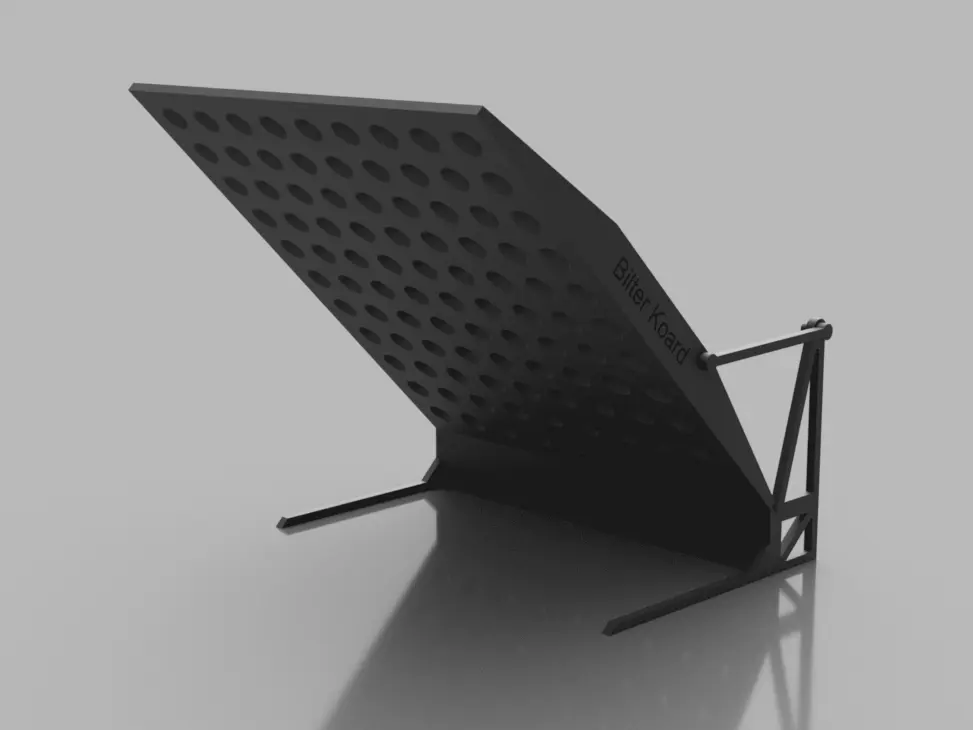
Since the last one was a really simple design, I wanted today to be a little more complicated and so I designed a mini replica of the Kilter Board, dubbing it the Bilter Koard (creative, I know; they can’t sue me, right?).
First, I printed the base, which holds the board in place. The first print produced an extreme amount of fuzz, which I solved by reducing the temperature from 215°C down to 180°C:
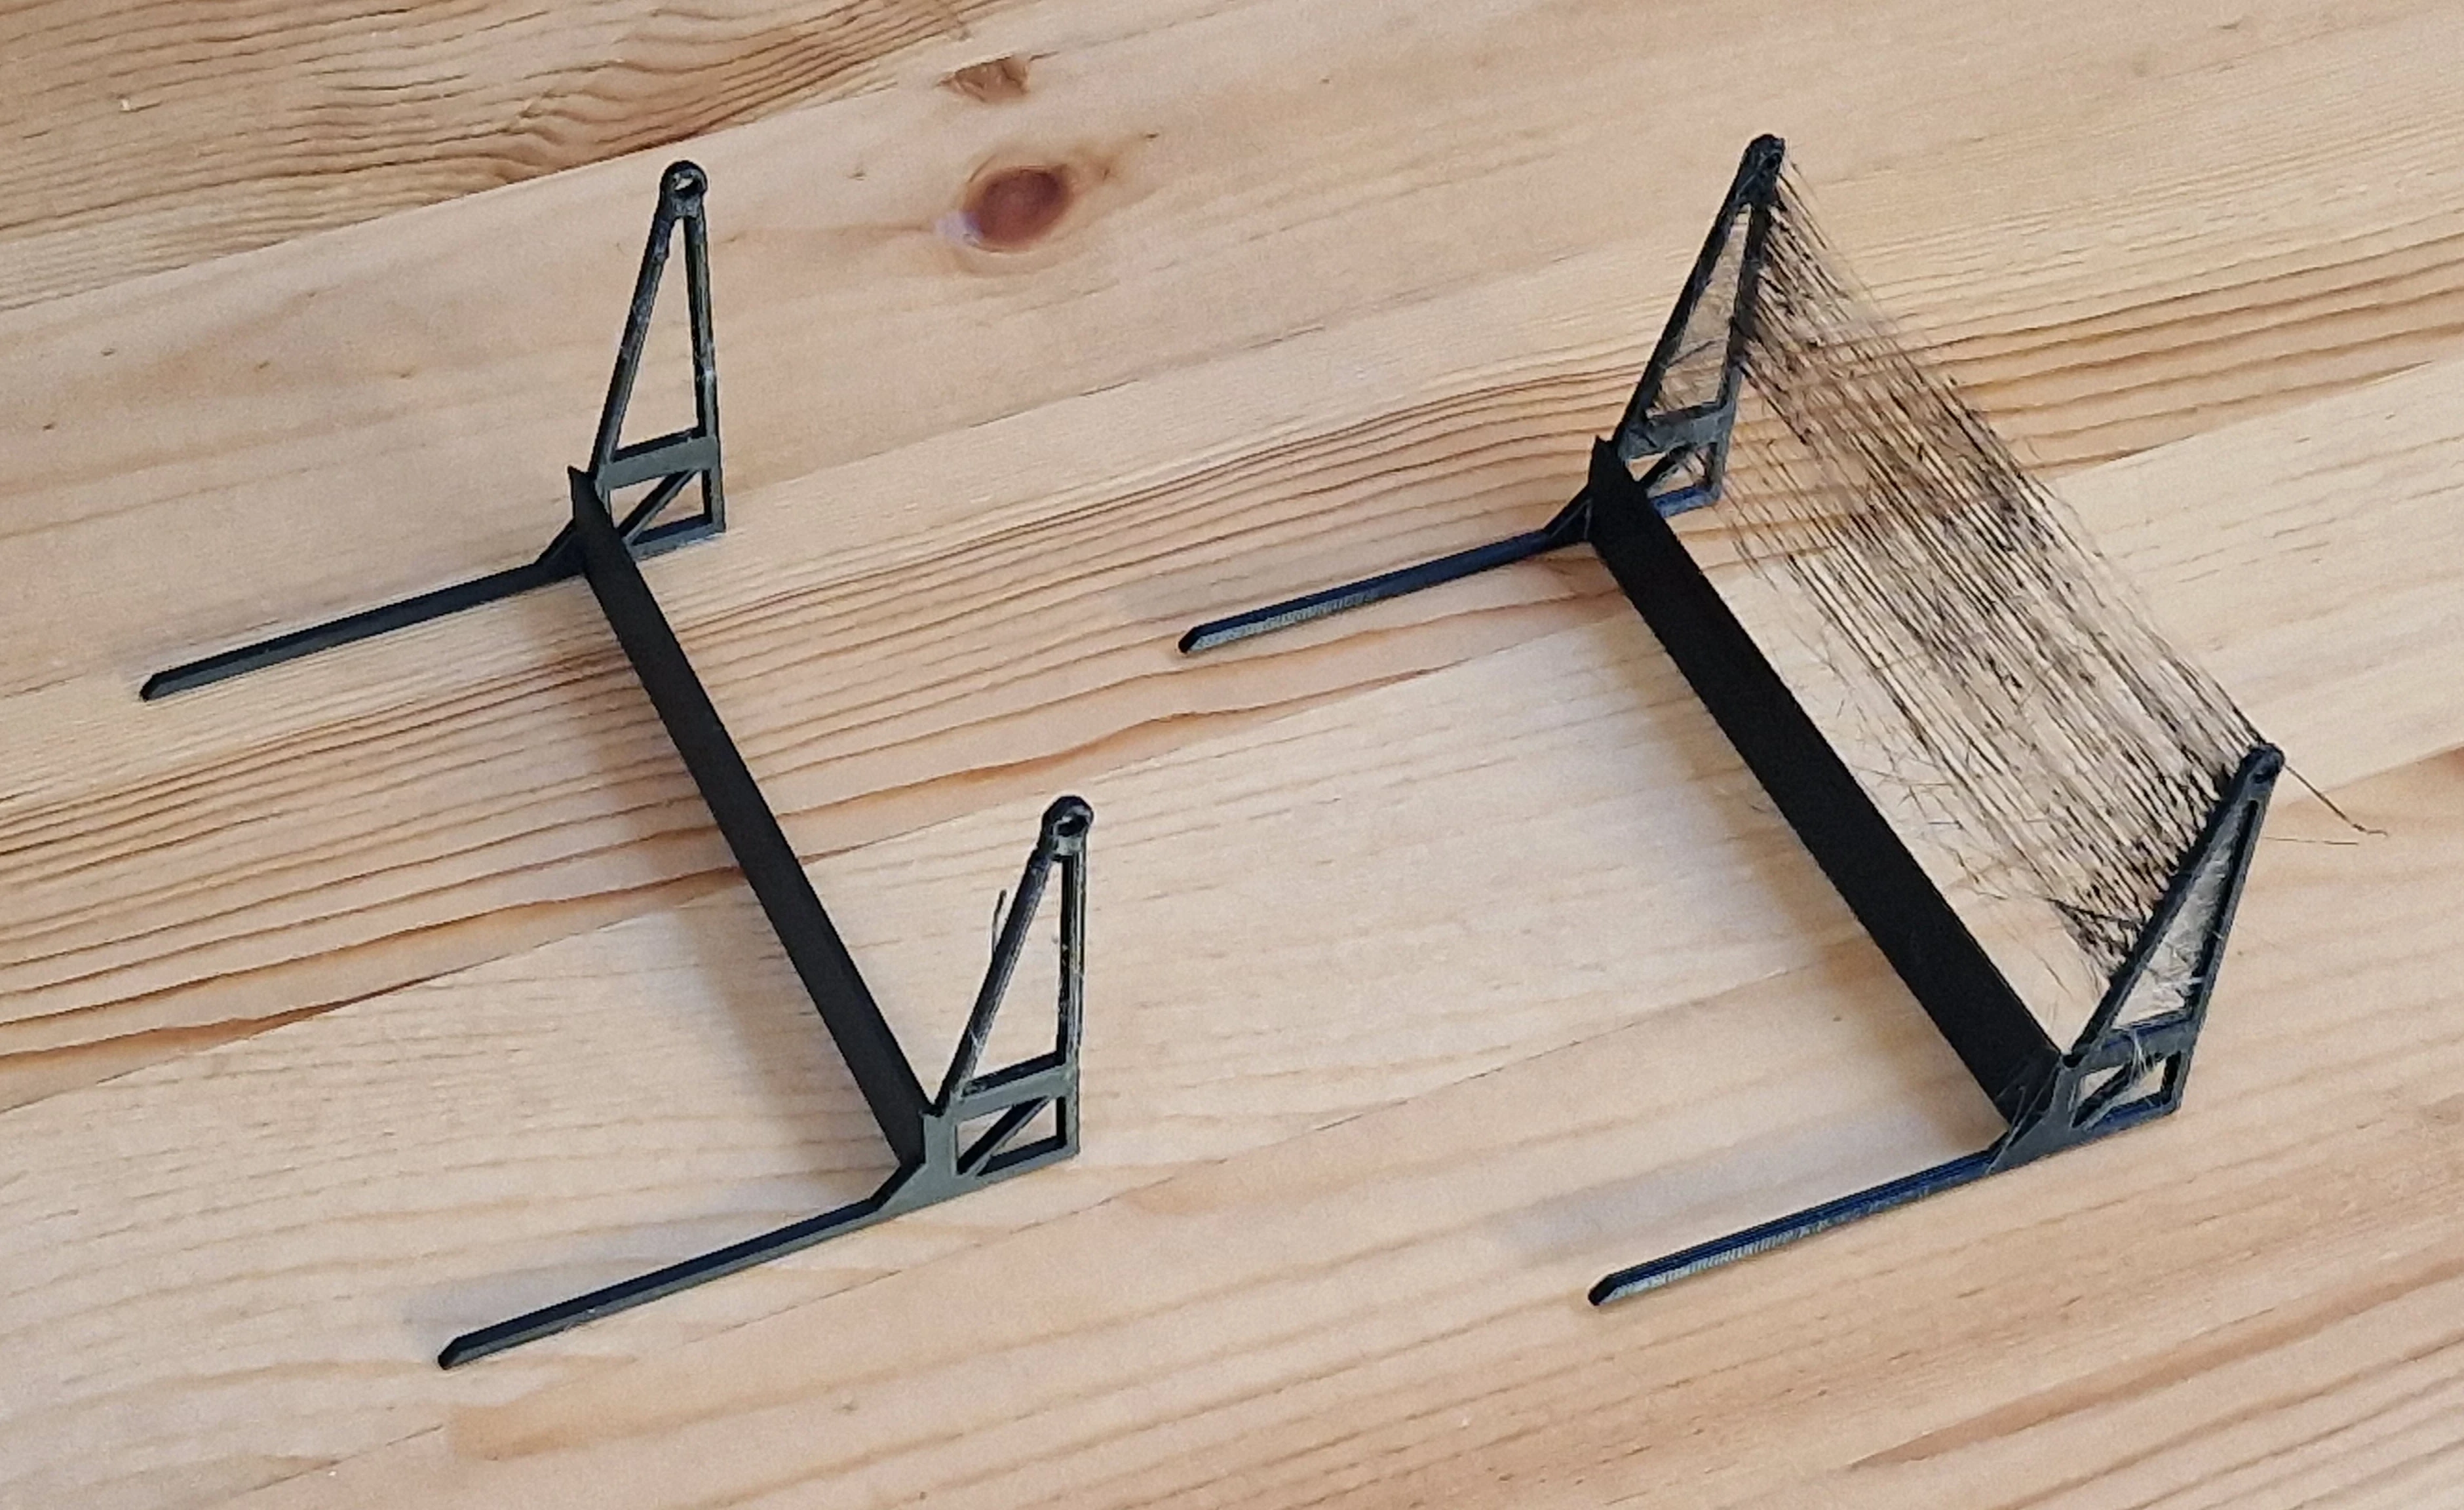
And here is where the fuck-up happens.
Right after the print, I noticed that the bottom wasn’t connected to the printing board… like at all. Usually, there is a bit of pressure I have to exert to get it off, but this time it was entirely free.
Thinking it strange but blaming it on the reduced temperature, I repeated the step with for the top part and w̸͇̱̑̃͜e̴̛̜n̸͍̳̐͊͑t̷̳̰̗͗ ̸̡̼̔̽t̸͖̭͖̽̄o̴͕̰͒ ̴̦̜̪͂̈́͝b̴̘̥̒̀͜ȅ̴̗́͛͜d̵̜̀̑̍, waking up to this sight.
![A photo of a fucked-up extruder [1].](https://slama.dev/a-tale-of-3d-printing/fucky-wucky-photo-5.png)
![A photo of a fucked-up extruder [2].](https://slama.dev/a-tale-of-3d-printing/fucky-wucky-photo-1.png)
![A photo of a fucked-up extruder [3].](https://slama.dev/a-tale-of-3d-printing/fucky-wucky-photo-2.png)
![A photo of a fucked-up extruder [4].](https://slama.dev/a-tale-of-3d-printing/fucky-wucky-photo-3.png)
![A photo of a fucked-up extruder [5].](https://slama.dev/a-tale-of-3d-printing/fucky-wucky-photo-4.png)
Sigh.
This is entirely my bad – not making sure that the first layer sticks, and going to bed instead, is pretty irresponsible (although this has never happened to me for the first layer of this size).
To fix this self-induced fuck-up, I
- heated the nozzle again to 230°C and left it be for a while, eventually loosening the blob enough so I could get it off,
- followed these two manuals [1] [2] to take the extruder apart, clean it up and put it back,
- tried printing something, which resulted in filament leaking from the top of the heater block (this video explains what happened quite well),
- went back to step 2 but did it properly this time (only once; no infinite loops here!),
It works now. *Happy Tom noises*.
The We Are So Back (Bilter Koard)
Due to reasons, I happen to have a large dataset of 3D-scanned climbing holds.
This is nice, but just dragging them into the Prusa Slicer won’t work due to them not being watertight.
To clean up the dataset, I used Python and the trimesh library to voxelize+smoothen+decimate the objects:
The clean-up code (click to show).
| |
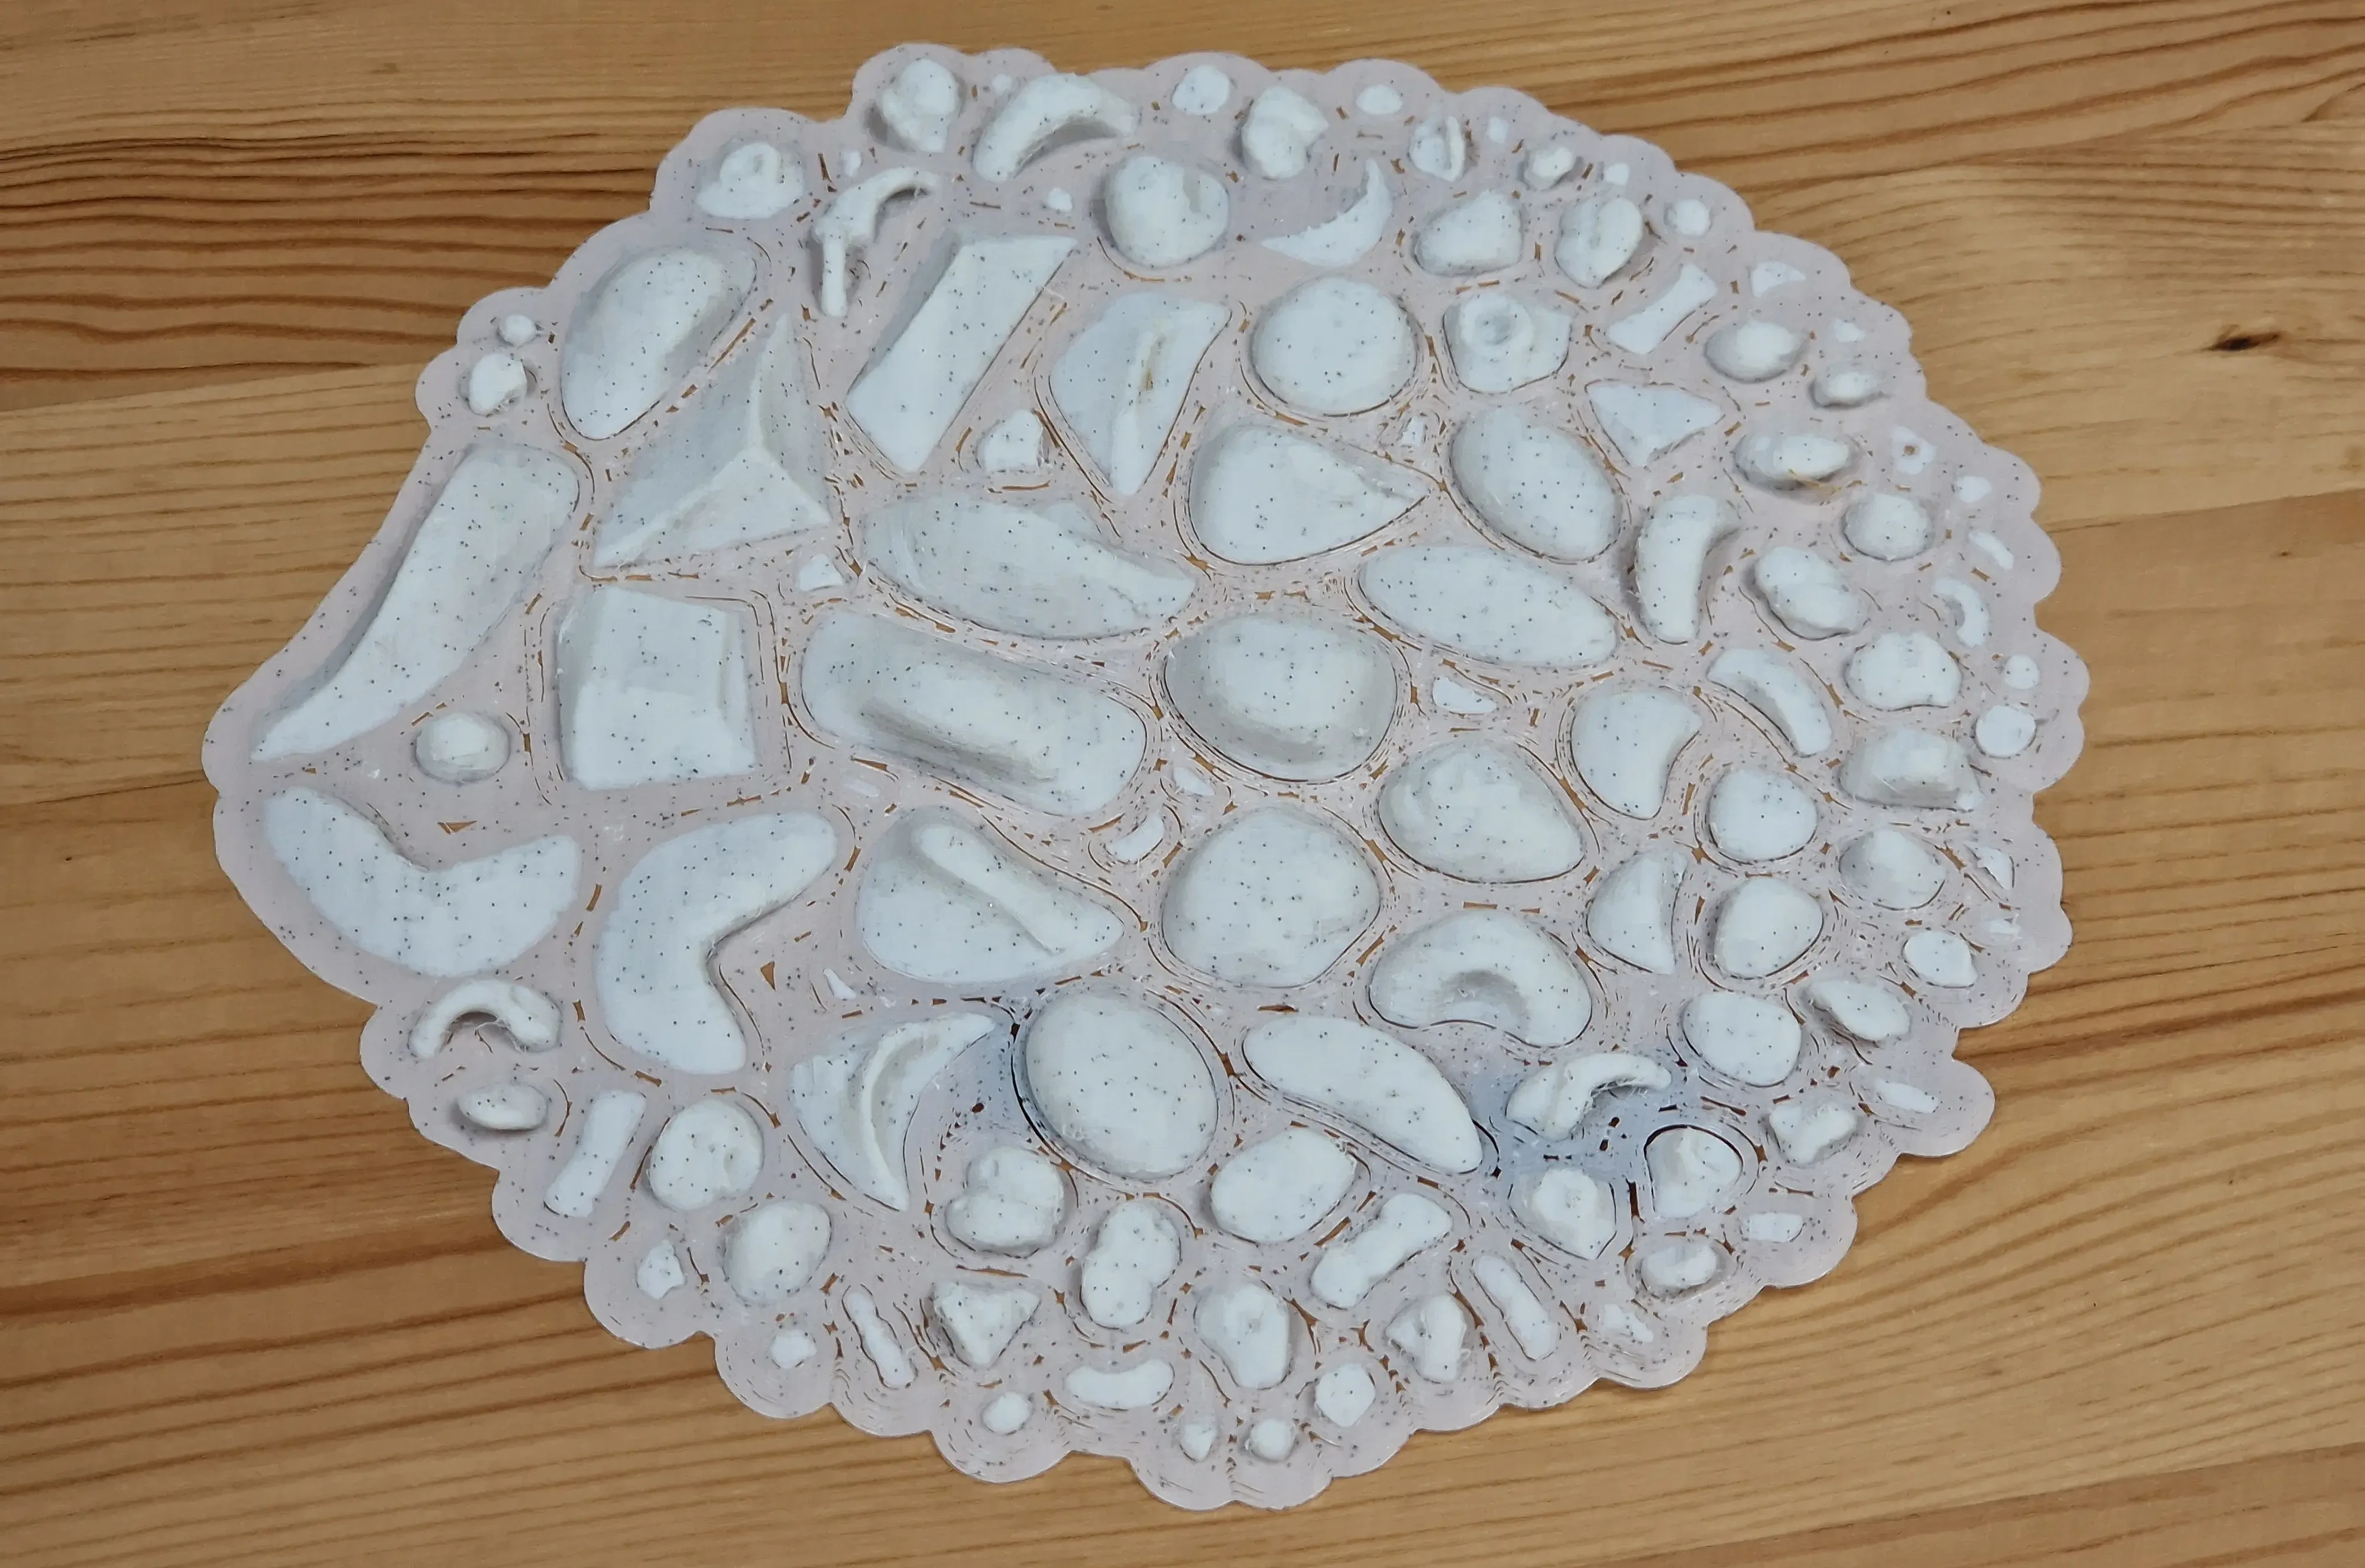
The board design isn’t anything too exciting – it consists of the board the holds attach to, a bottom part that holds the board in place and two sticks on each side that hold it at the desired angle (35°/45°/55°).
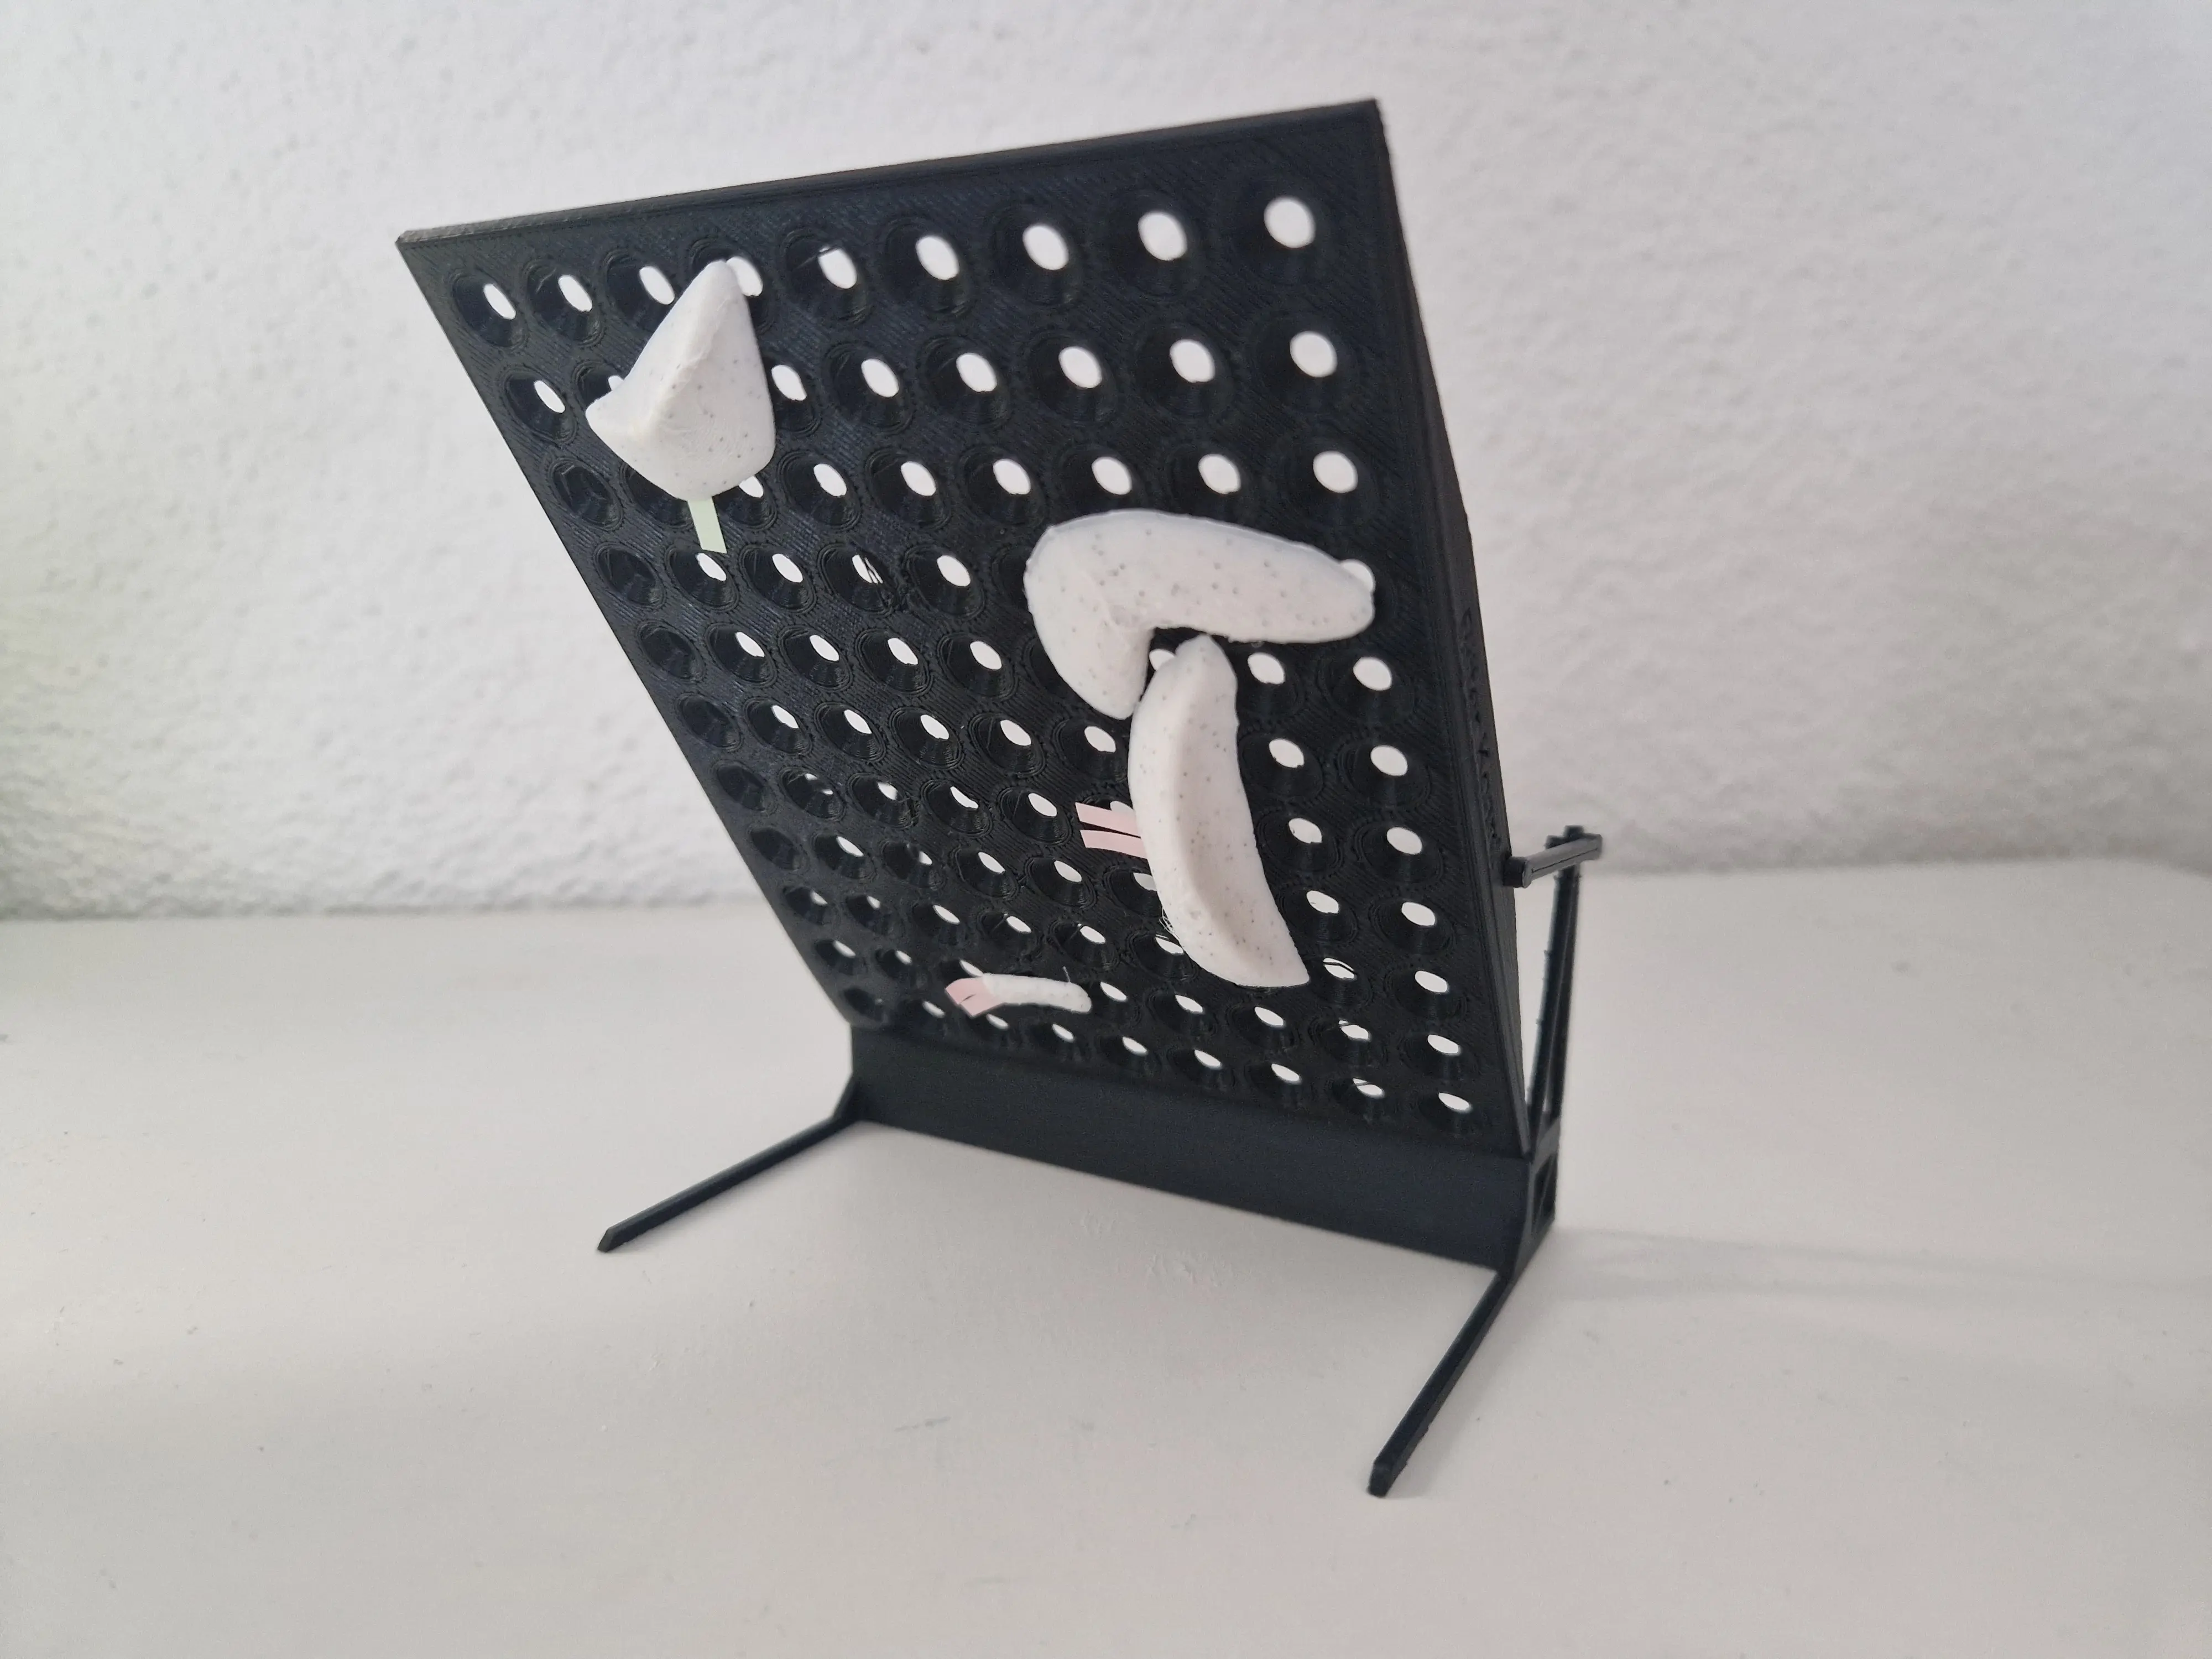
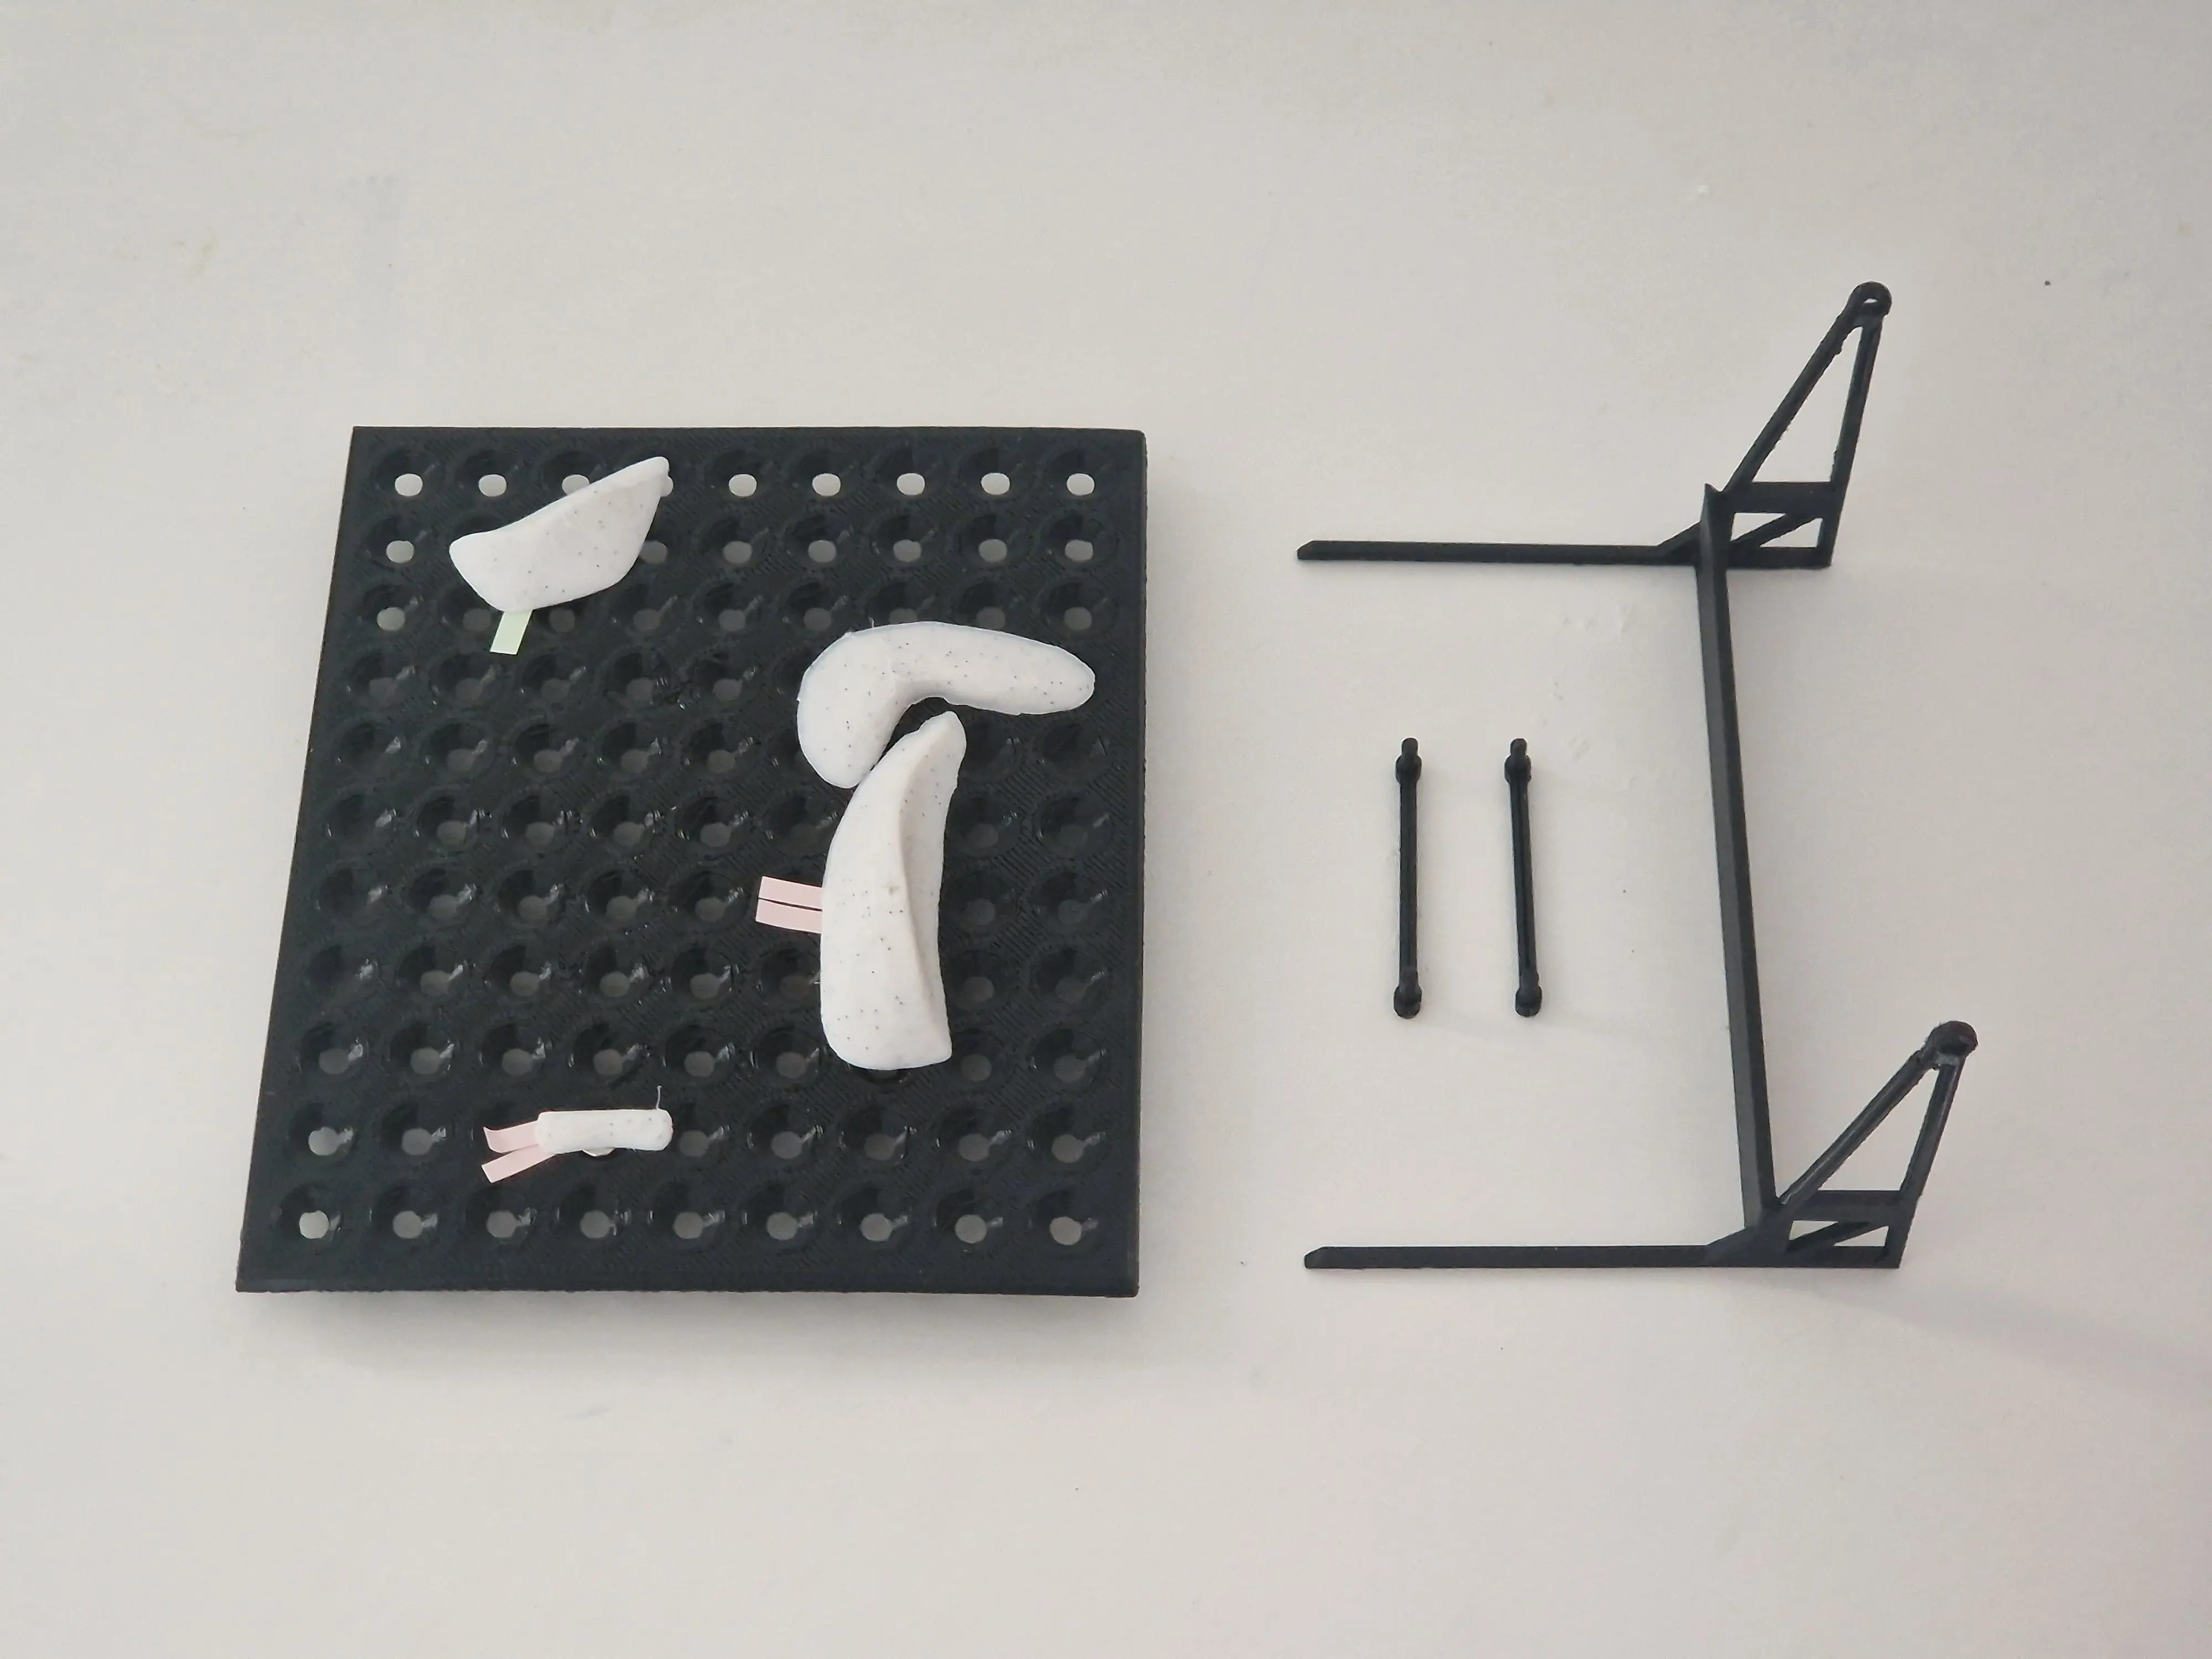
To attach the holds to the board, I made sure to bevel the holes so I can use M3.5 screws superglued to the holds. I experimented with printing thin plastic sticks so the build would be plastic-only (no extra parts) but it didn’t work super well.
![Photo of how the screws are done [1].](https://slama.dev/a-tale-of-3d-printing/screws-1.png)
![Photo of how the screws are done [2].](https://slama.dev/a-tale-of-3d-printing/screws-2.png)
I’m happy with how it turned out but what I would really like is to make the holds’ first few layers semi-transparent, put individually addressable RPi-controlled LEDs behind it, add a servo or two and make a proper Kilter Board miniature. That would, however, turn it from something made in ~4 hours to a summer project so maybe some other time.
The Conclusion
Knowing basic CAD and owning a 3D printer is a truly potent combination. It’s very satisfying to be able to think of something cool and actually be able to design and create it.
It also comes with its own set of issues (if you’re not being really careful) and it can be truly frustrating to spend 2 hours taking apart/putting back the extruder, only to have to do it all over again because you did something wrong at some point in the process.
My hope with writing this article is that you either don’t know much CAD/3D printing and found it interesting, or you know it and found it funny (I’m much more motivated than skilled).